This guide shows you every part of a halter, what it's called and what it does, plus safe, step-by-step instructions on how to put on a halter correctly. Whether you're starting lessons or managing your first pony, understanding the parts of a halter and how they work together keeps you and your horse safe.
What Is a Halter?
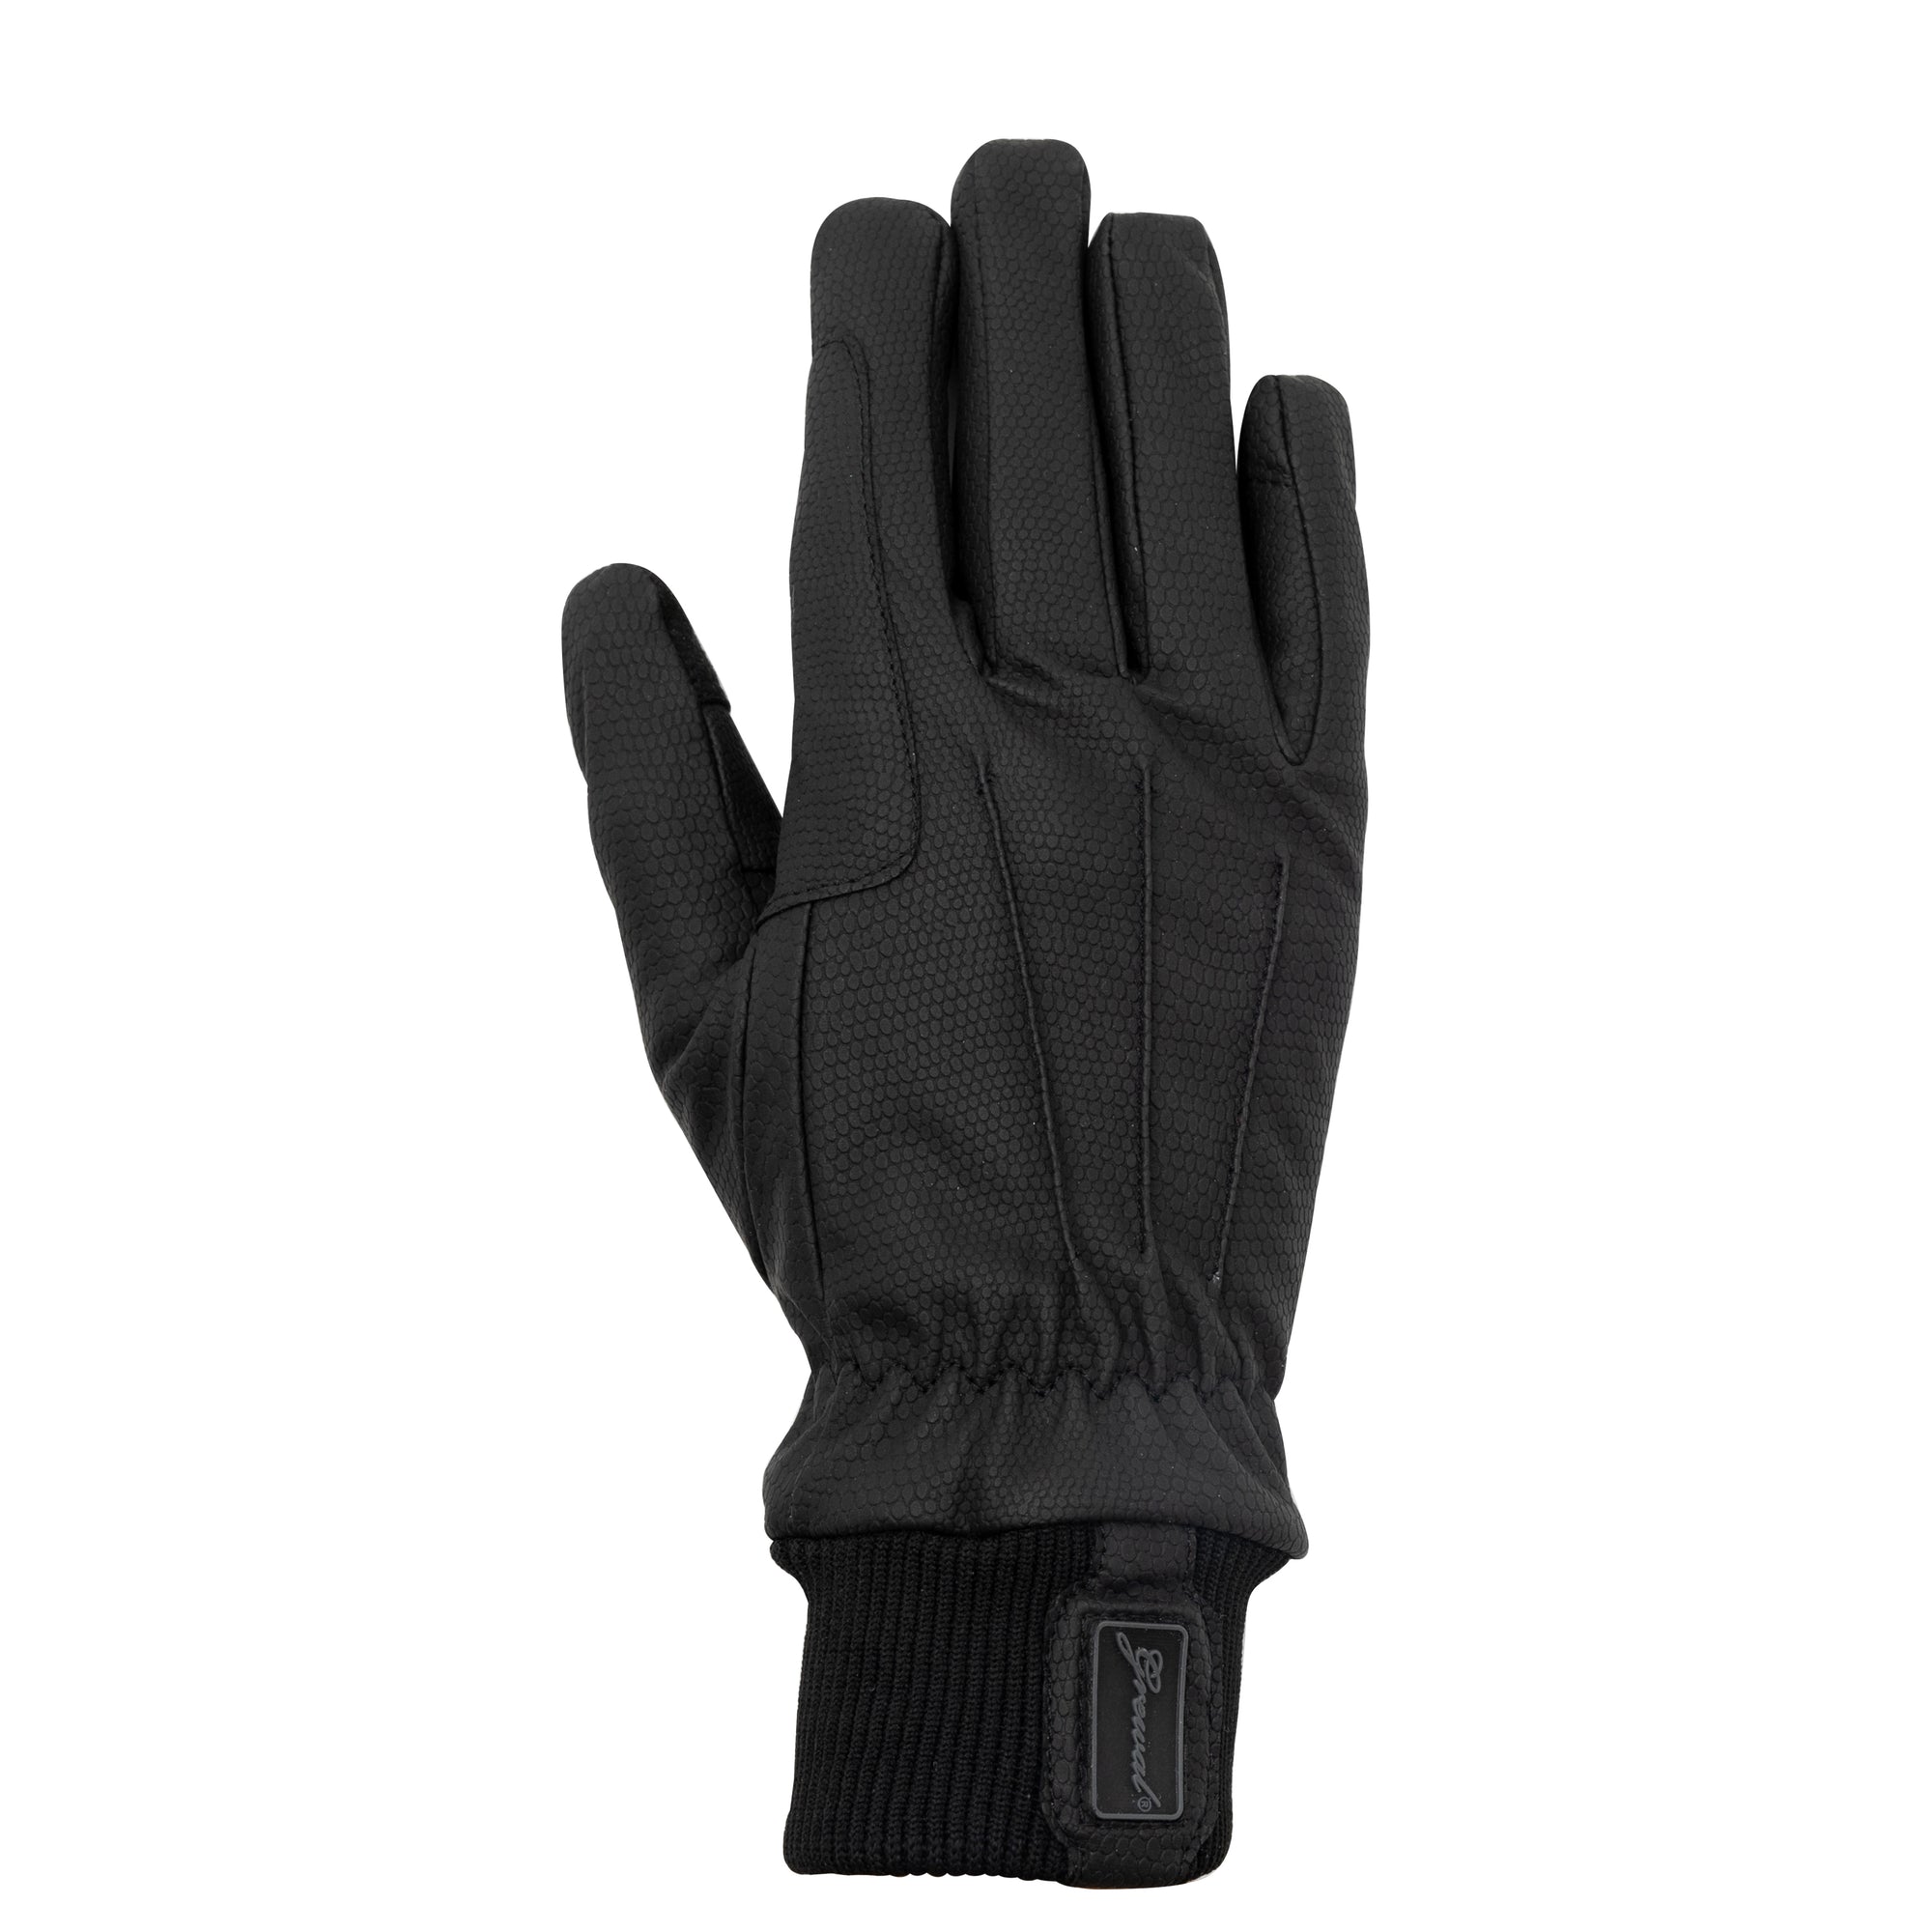
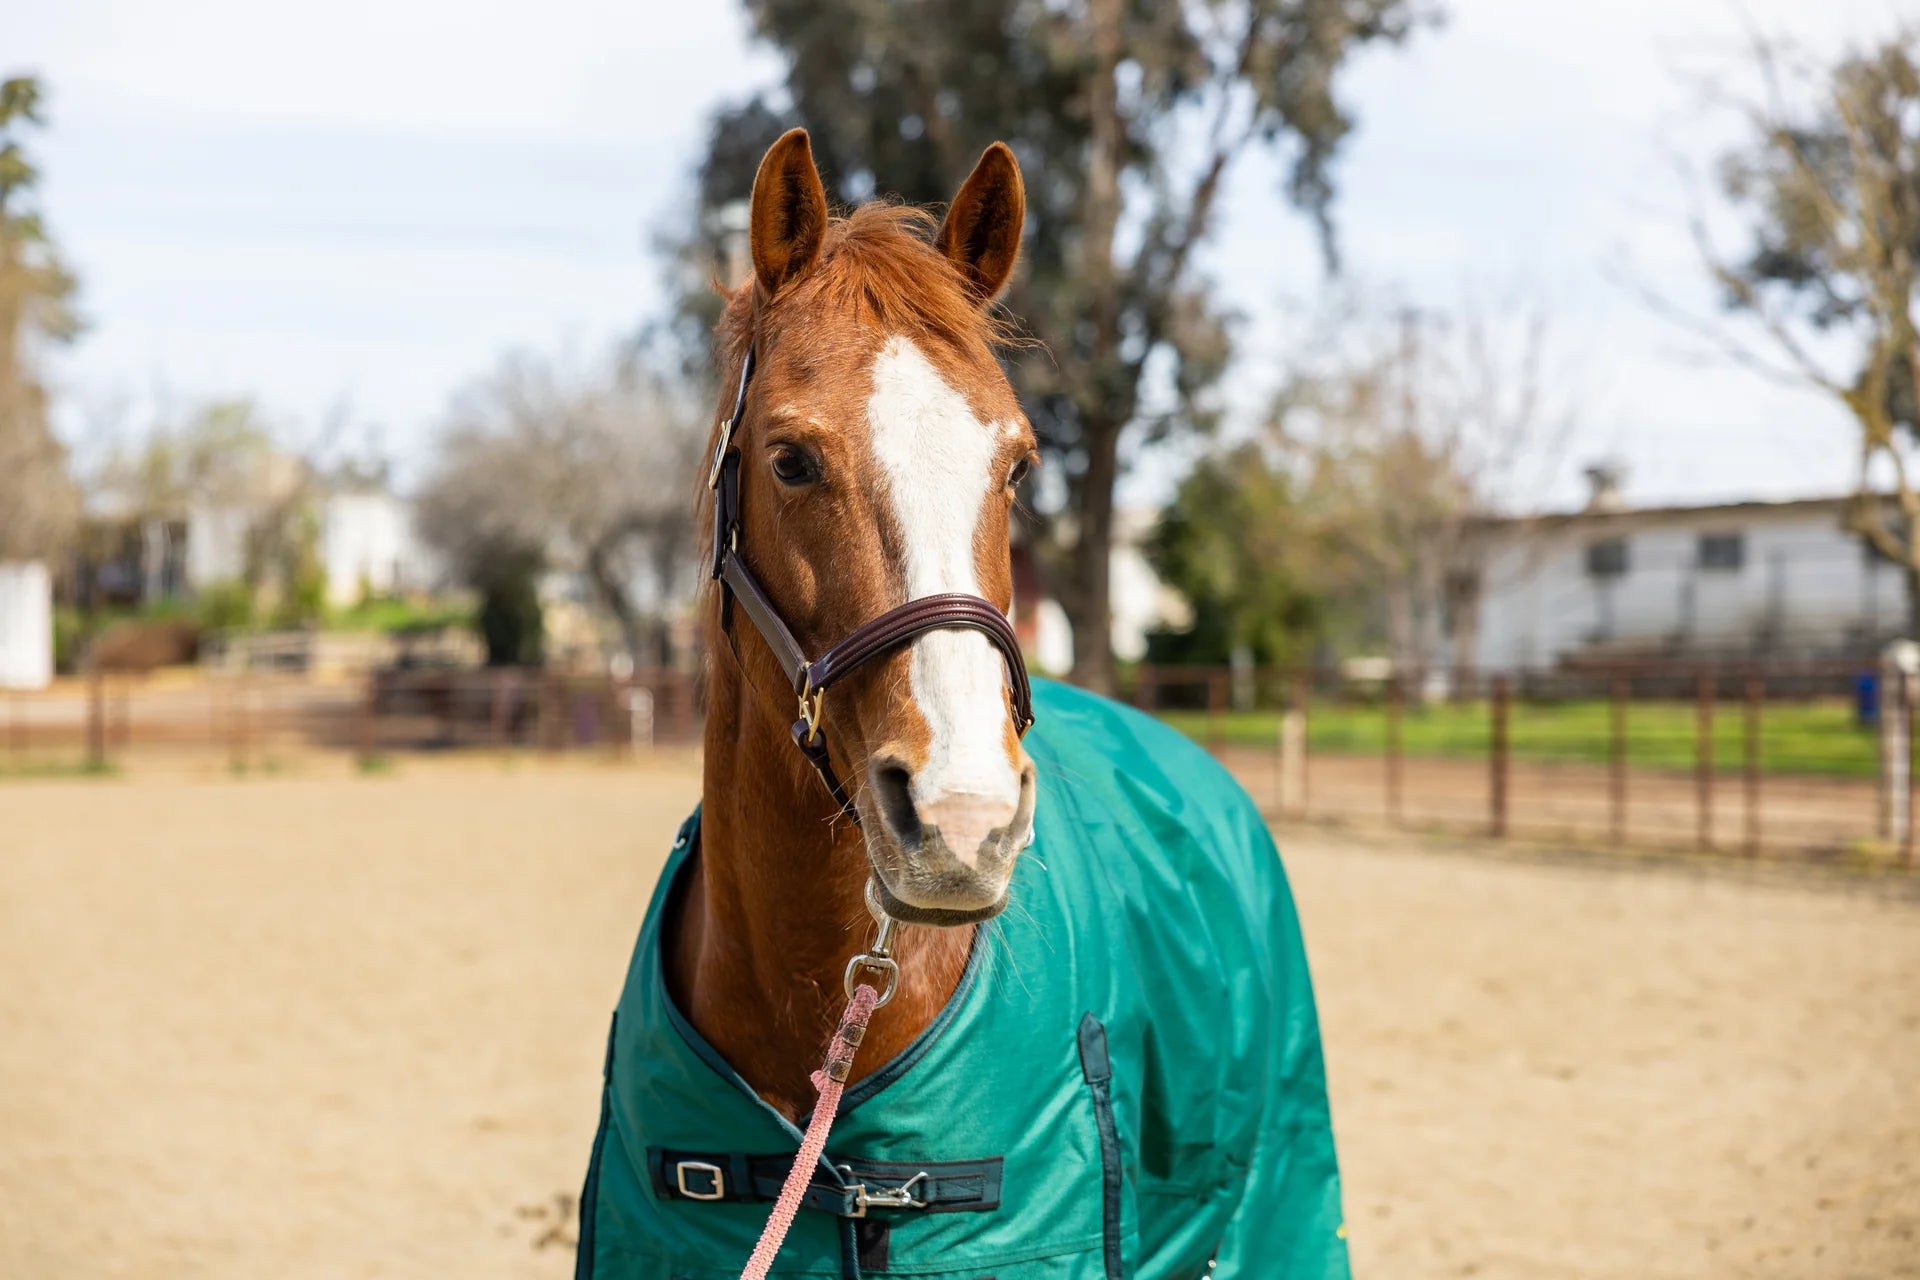
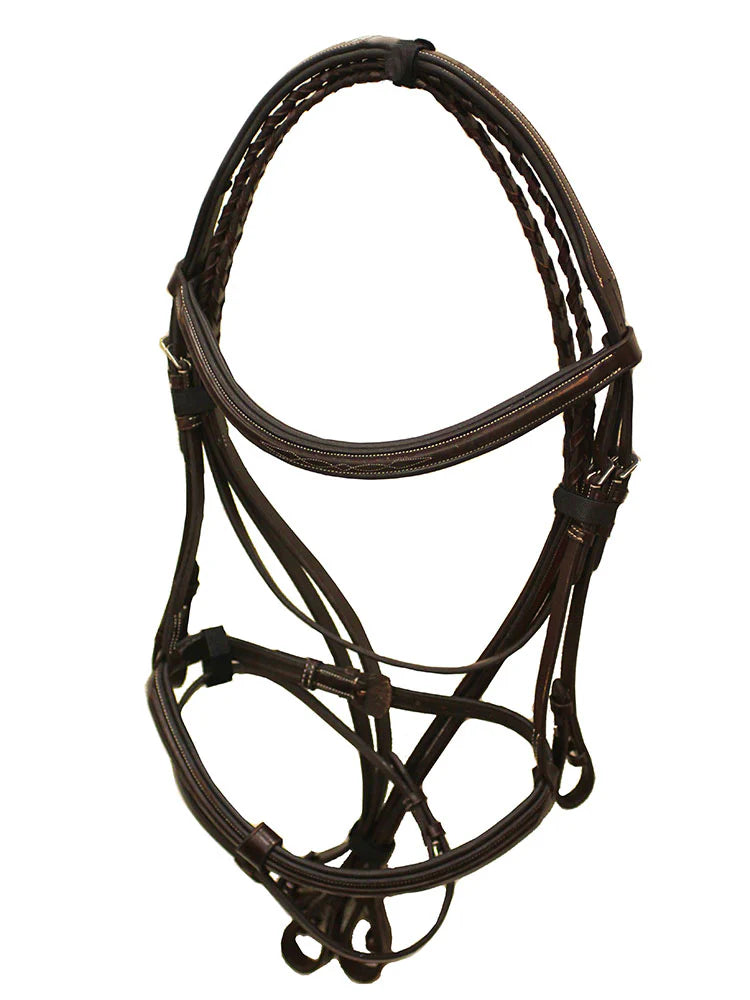
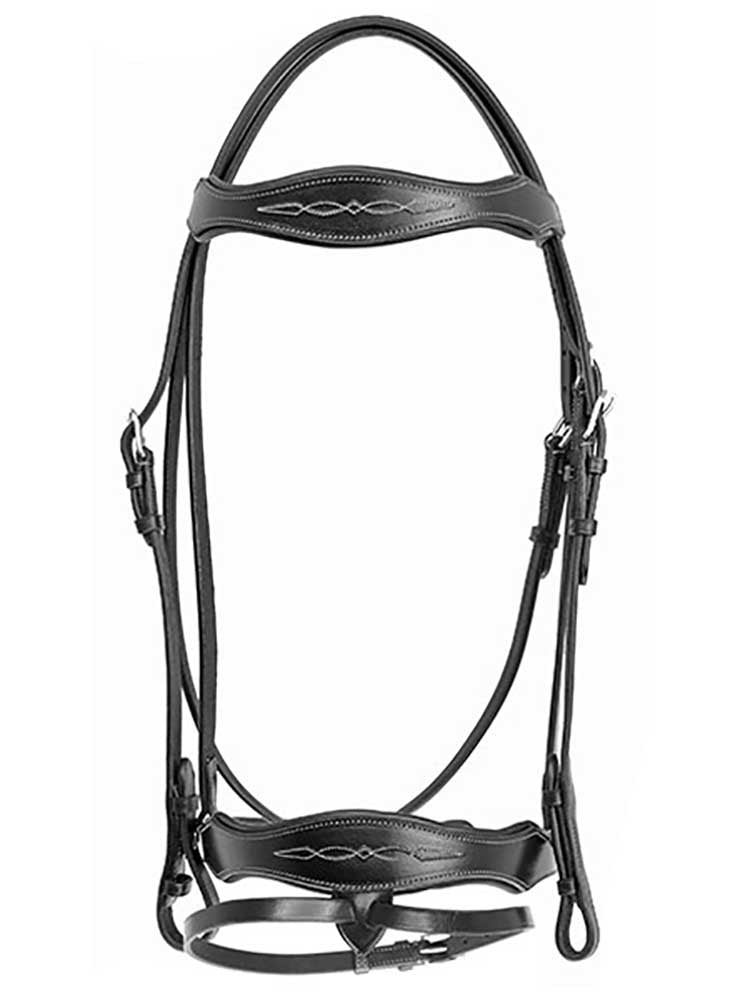
A halter is the piece of equipment you use to lead, groom, tie, and handle your horse from the ground; in the UK, it's called a headcollar. Unlike a bridle, a halter has no bit and is not designed for riding. It's strictly for ground handling. Halters are typically made from nylon webbing, leather, or rope, with metal or plastic hardware including rings for attaching a lead rope and buckles or clips for fastening.
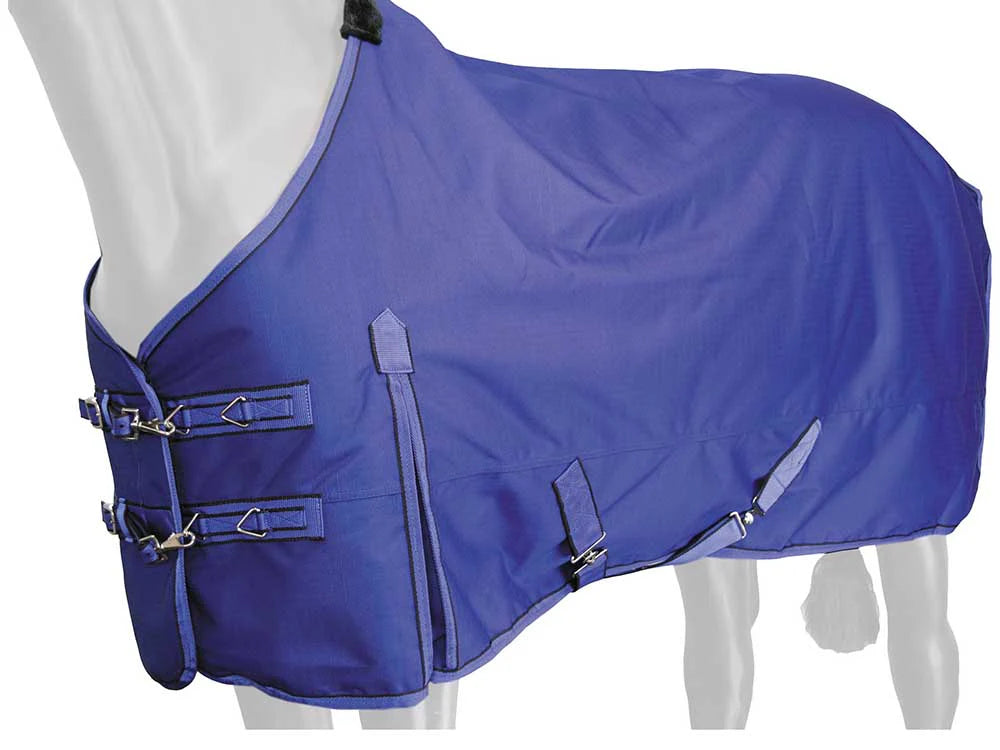
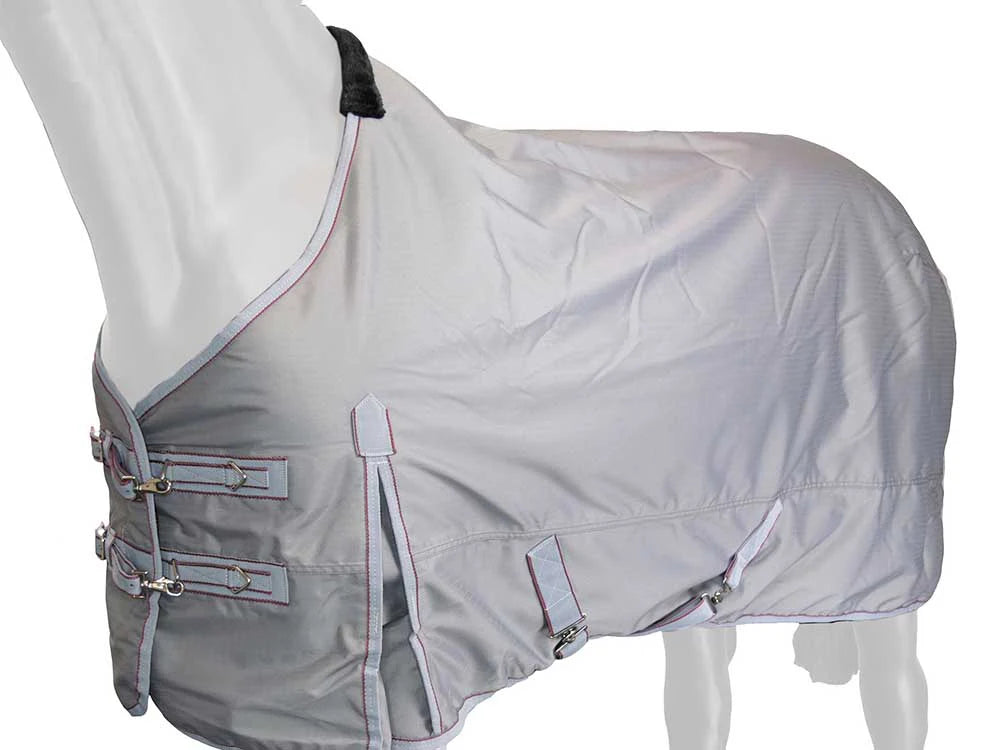
A breakaway halter features a crown piece or insert designed to release under pressure, reducing the risk of injury if the horse catches the halter on a fence post or stable fitting.

When Do You Use a Halter?
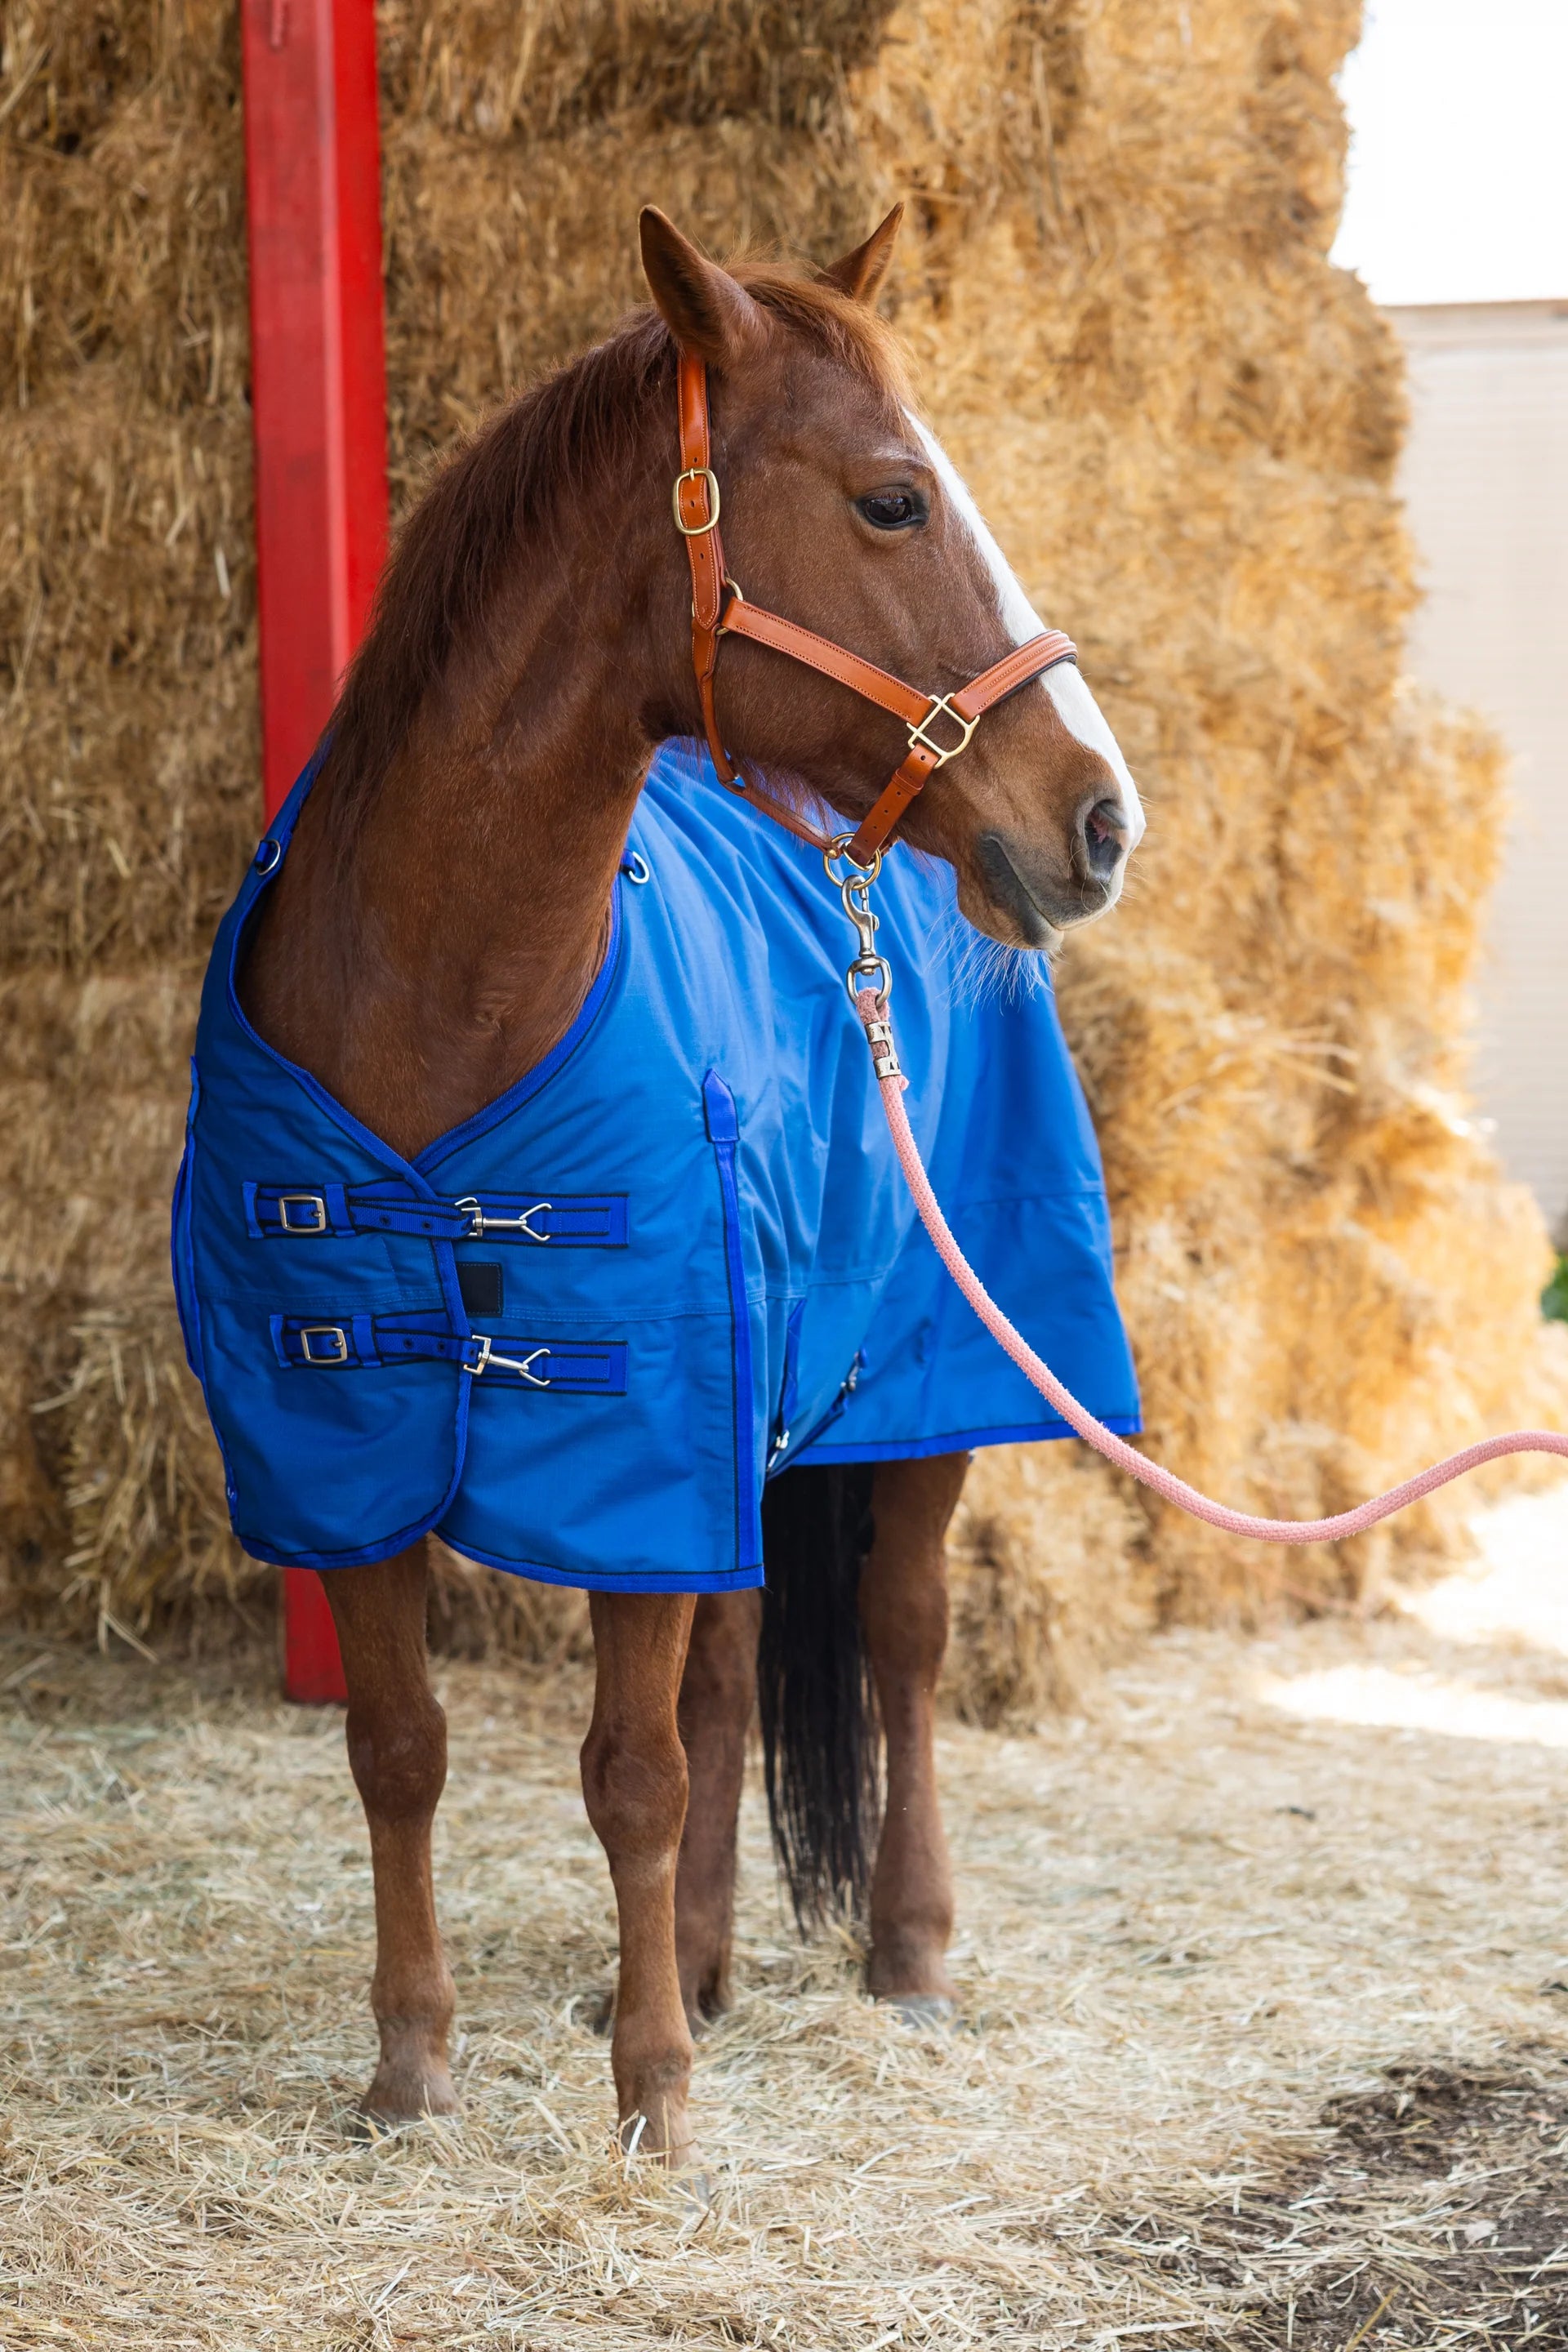
Common uses include daily turnout, grooming in cross-ties, leading to and from the field, bathing, and trailer loading.
Shop Grewal Equestrian Halters for leather, padded, and breakaway halters suited to daily yard use.
What Are the Parts of a Halter? (Anatomy & Function)
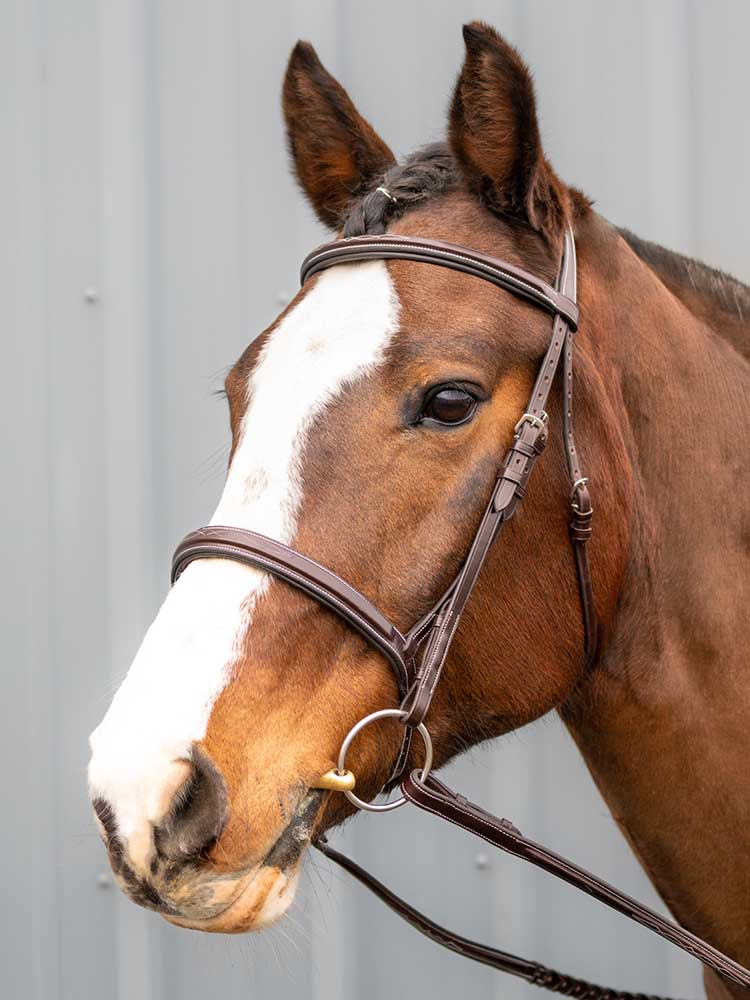
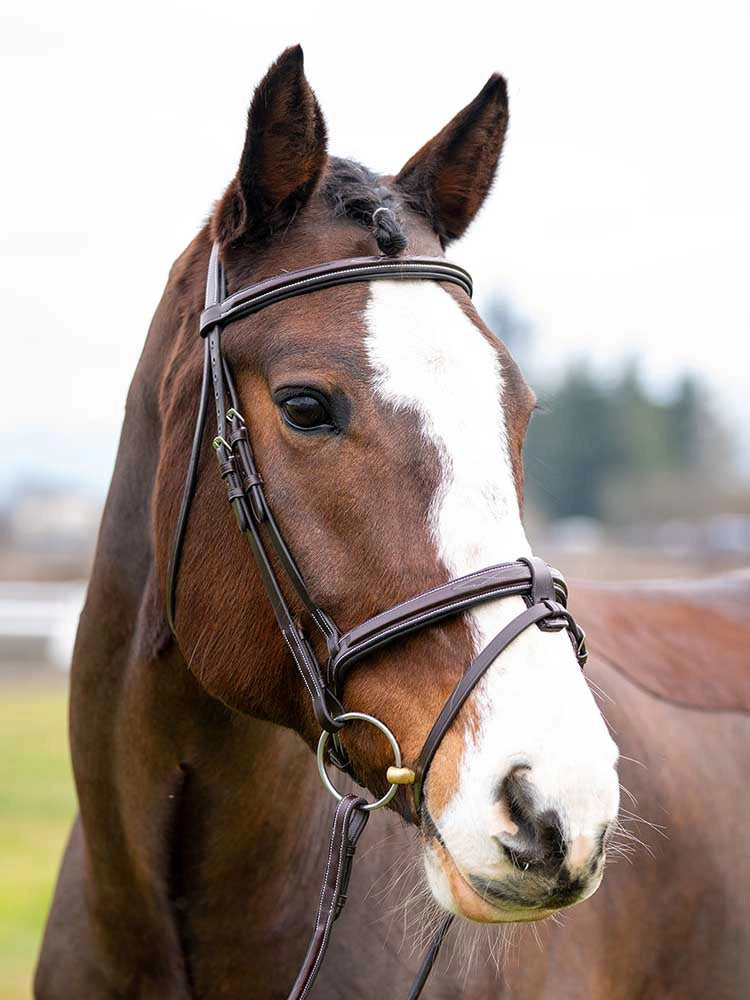
Understanding the parts of a halter helps you fit, adjust, and use it correctly. Here's each component and what it does:
-
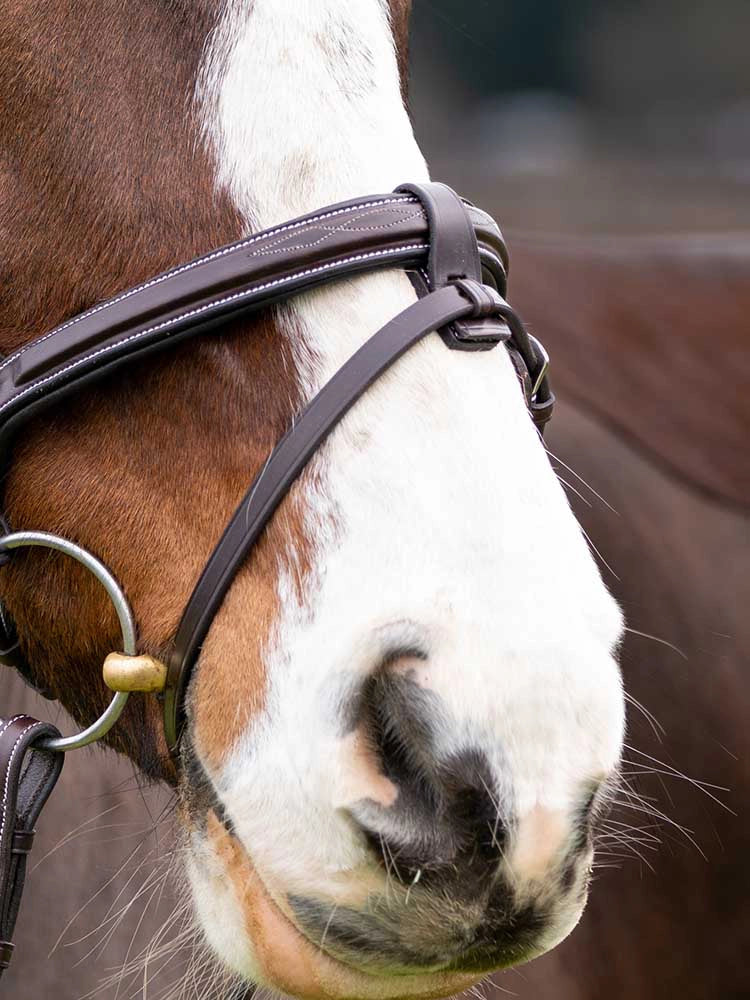
Headpiece / Crownpiece (poll strap): The strap that runs behind the ears and over the poll. It bears the weight of the halter and distributes pressure when the horse pulls. Often padded for comfort.
-
Cheekpieces (left and right): The straps that run from the headpiece down each side of the face to the noseband.
-
Throat area strap / Throatlatch: The strap that runs under the throat from one side of the headpiece to the other. It prevents the halter from sliding forward over the horse's face but must allow clearance for swallowing and flexion. Often has a snap for ease of use.
-
Noseband: The strap that encircles the nose, resting on the bony bridge a few finger-widths below the cheekbone. Often padded to prevent rubbing; some designs are adjustable.
-
Chin strap / Under-chin piece: The short strap that runs under the chin and connects the two cheekpieces. It holds the center under-chin ring and is often adjustable.
-
Center under-chin ring (lead rope ring): The metal ring positioned under the chin where the lead rope clips. This is the correct attachment point for leading and tying.
-
Side rings (cheek rings): Small rings positioned at the junction of the cheekpiece and noseband on each side of the face. These are not for attaching a lead rope. They're used for specialized training equipment or cross-ties in some setups.
-
Buckles & keepers: Hardware that secures adjustable straps and keeps excess length tidy.
-
Padding: Soft fleece, sheepskin, or synthetic cushioning at the poll and nose to prevent pressure points and rubbing.
-
Breakaway element (if present): A leather tab, Velcro insert, or designed weak point in the crownpiece that releases under strong, sustained pressure to prevent the horse from being trapped.
Safety note: Always clip your lead rope to the center under-chin ring while leading or tying, never to the side cheek rings. Clipping to a side ring creates uneven pressure and can cause the halter to twist or the horse to pull away.
Halter Mistakes and Quick Fixes
| Issue | What’s Happening | Fix |
|---|---|---|
| Low noseband | Sits on the soft cartilage instead of the bony bridge. | Adjust the crown pieces shorter or choose a smaller size. |
| Cheek rings on the cheekbone | Rings rub and cause sores. | Lengthen the crown pieces or size up. |
| Crown too loose | Halter rotates or slides forward into the eye. | Shorten the crown pieces or switch to a smaller size. |
| Clipping lead to a cheek ring | Creates uneven pressure and twisting. | Always clip to the center under-chin ring. |
| No breakaway when tying | Increases injury risk if the horse panics. | Use a breakaway halter or tie with a quick-release knot and panic snap. |
| Twisted straps | Crown pieces or noseband lie folded or turned. | Remove the halter, straighten all straps, and refit carefully. |
If straps twist repeatedly, crack, or fray, replace the halter promptly.
Start with the Right Halter
Now that you know the parts of a halter, how each piece functions, and how to put on a halter safely, you're ready to handle your horse with confidence. Start with a well-fitted halter in the correct size, check the fit weekly as your horse grows or changes shape, and inspect all hardware and stitching regularly.
Whether you're leading to the field, grooming in the barn aisle, or loading for a show, a properly fitted halter keeps both of you safe. Browse Grewal Equestrian's Halters collection for leather, padded, and breakaway halters designed for daily yard use, turnout safety, and comfortable handling.

FAQs
What are the main parts of a halter called?
The main parts of a halter are the headpiece (crownpiece), which sits behind the ears; the cheekpieces, which run down each side of the face; the noseband, which encircles the nose; the throat area strap, which runs under the throat; the chin strap, which sits under the chin; and the center under-chin ring, where the lead rope attaches.
Additional components include side cheek rings, buckles and keepers for adjustment, padding at the poll and nose, and a breakaway element on safety models.
Where should a halter noseband sit on the horse's face?
The noseband should sit on the bony bridge of the nose, two to three finger-widths below the prominent cheekbone. It must rest on bone, not soft cartilage, to avoid restricting breathing or causing discomfort.
There should be one to two fingers of clearance between the noseband and the horse's nose. Snug enough that the halter won't slip off, but not so tight that it pinches.
How tight should a halter be at the nose and throat?
At the nose, you should be able to slide one to two fingers between the noseband and the horse's face. Tight enough to prevent the halter from sliding off, but loose enough that it doesn't pinch or restrict.
At the throat, leave four fingers of clearance between the throatlatch and the horse's throat when the head is in a neutral position. This allows the horse to flex at the poll, swallow, and breathe comfortably without the strap restricting movement.
Is a halter the same as a headcollar? (UK vs US)
Yes, a halter and a headcollar are the same piece of equipment. The term varies by region. Headcollar is the standard term in the UK, Ireland, and much of Europe, while halter is used in the United States, Canada, and Australia.
Both refer to the non-riding tack used to lead, groom, tie, and handle horses from the ground.
Which ring on a halter does the lead rope clip to?
The lead rope always clips to the center under-chin ring, the metal ring positioned under the horse's chin on the chin strap. Never clip the lead rope to the side cheek rings.
Clipping to a side ring creates uneven pressure, can twist the halter, and makes the horse harder to control. The center ring distributes pressure evenly and keeps the halter stable.
Can a horse wear a halter in the field?
This depends on your barn's policy and the individual horse's behavior. Many yards remove halters entirely during turnout to eliminate the risk of a horse catching the halter on a fence post, gate, or another horse's hoof and becoming trapped.
If your barn allows horses to wear halters in the field, use a breakaway design with a crownpiece or insert that releases under sustained pressure. Check the halter daily for wear, damage, or debris, and remove it immediately if it shows signs of rubbing or irritation.
Are rope halters safe for tying?
Rope halters are designed for groundwork and training where precise pressure and release are important. They are not recommended for tying to a solid object because they do not have a breakaway safety feature, and the thin rope can create concentrated pressure points if the horse pulls back.
Use rope halters for in-hand work and leading, but switch to a flat webbing or leather halter (preferably with a breakaway crown) when tying.