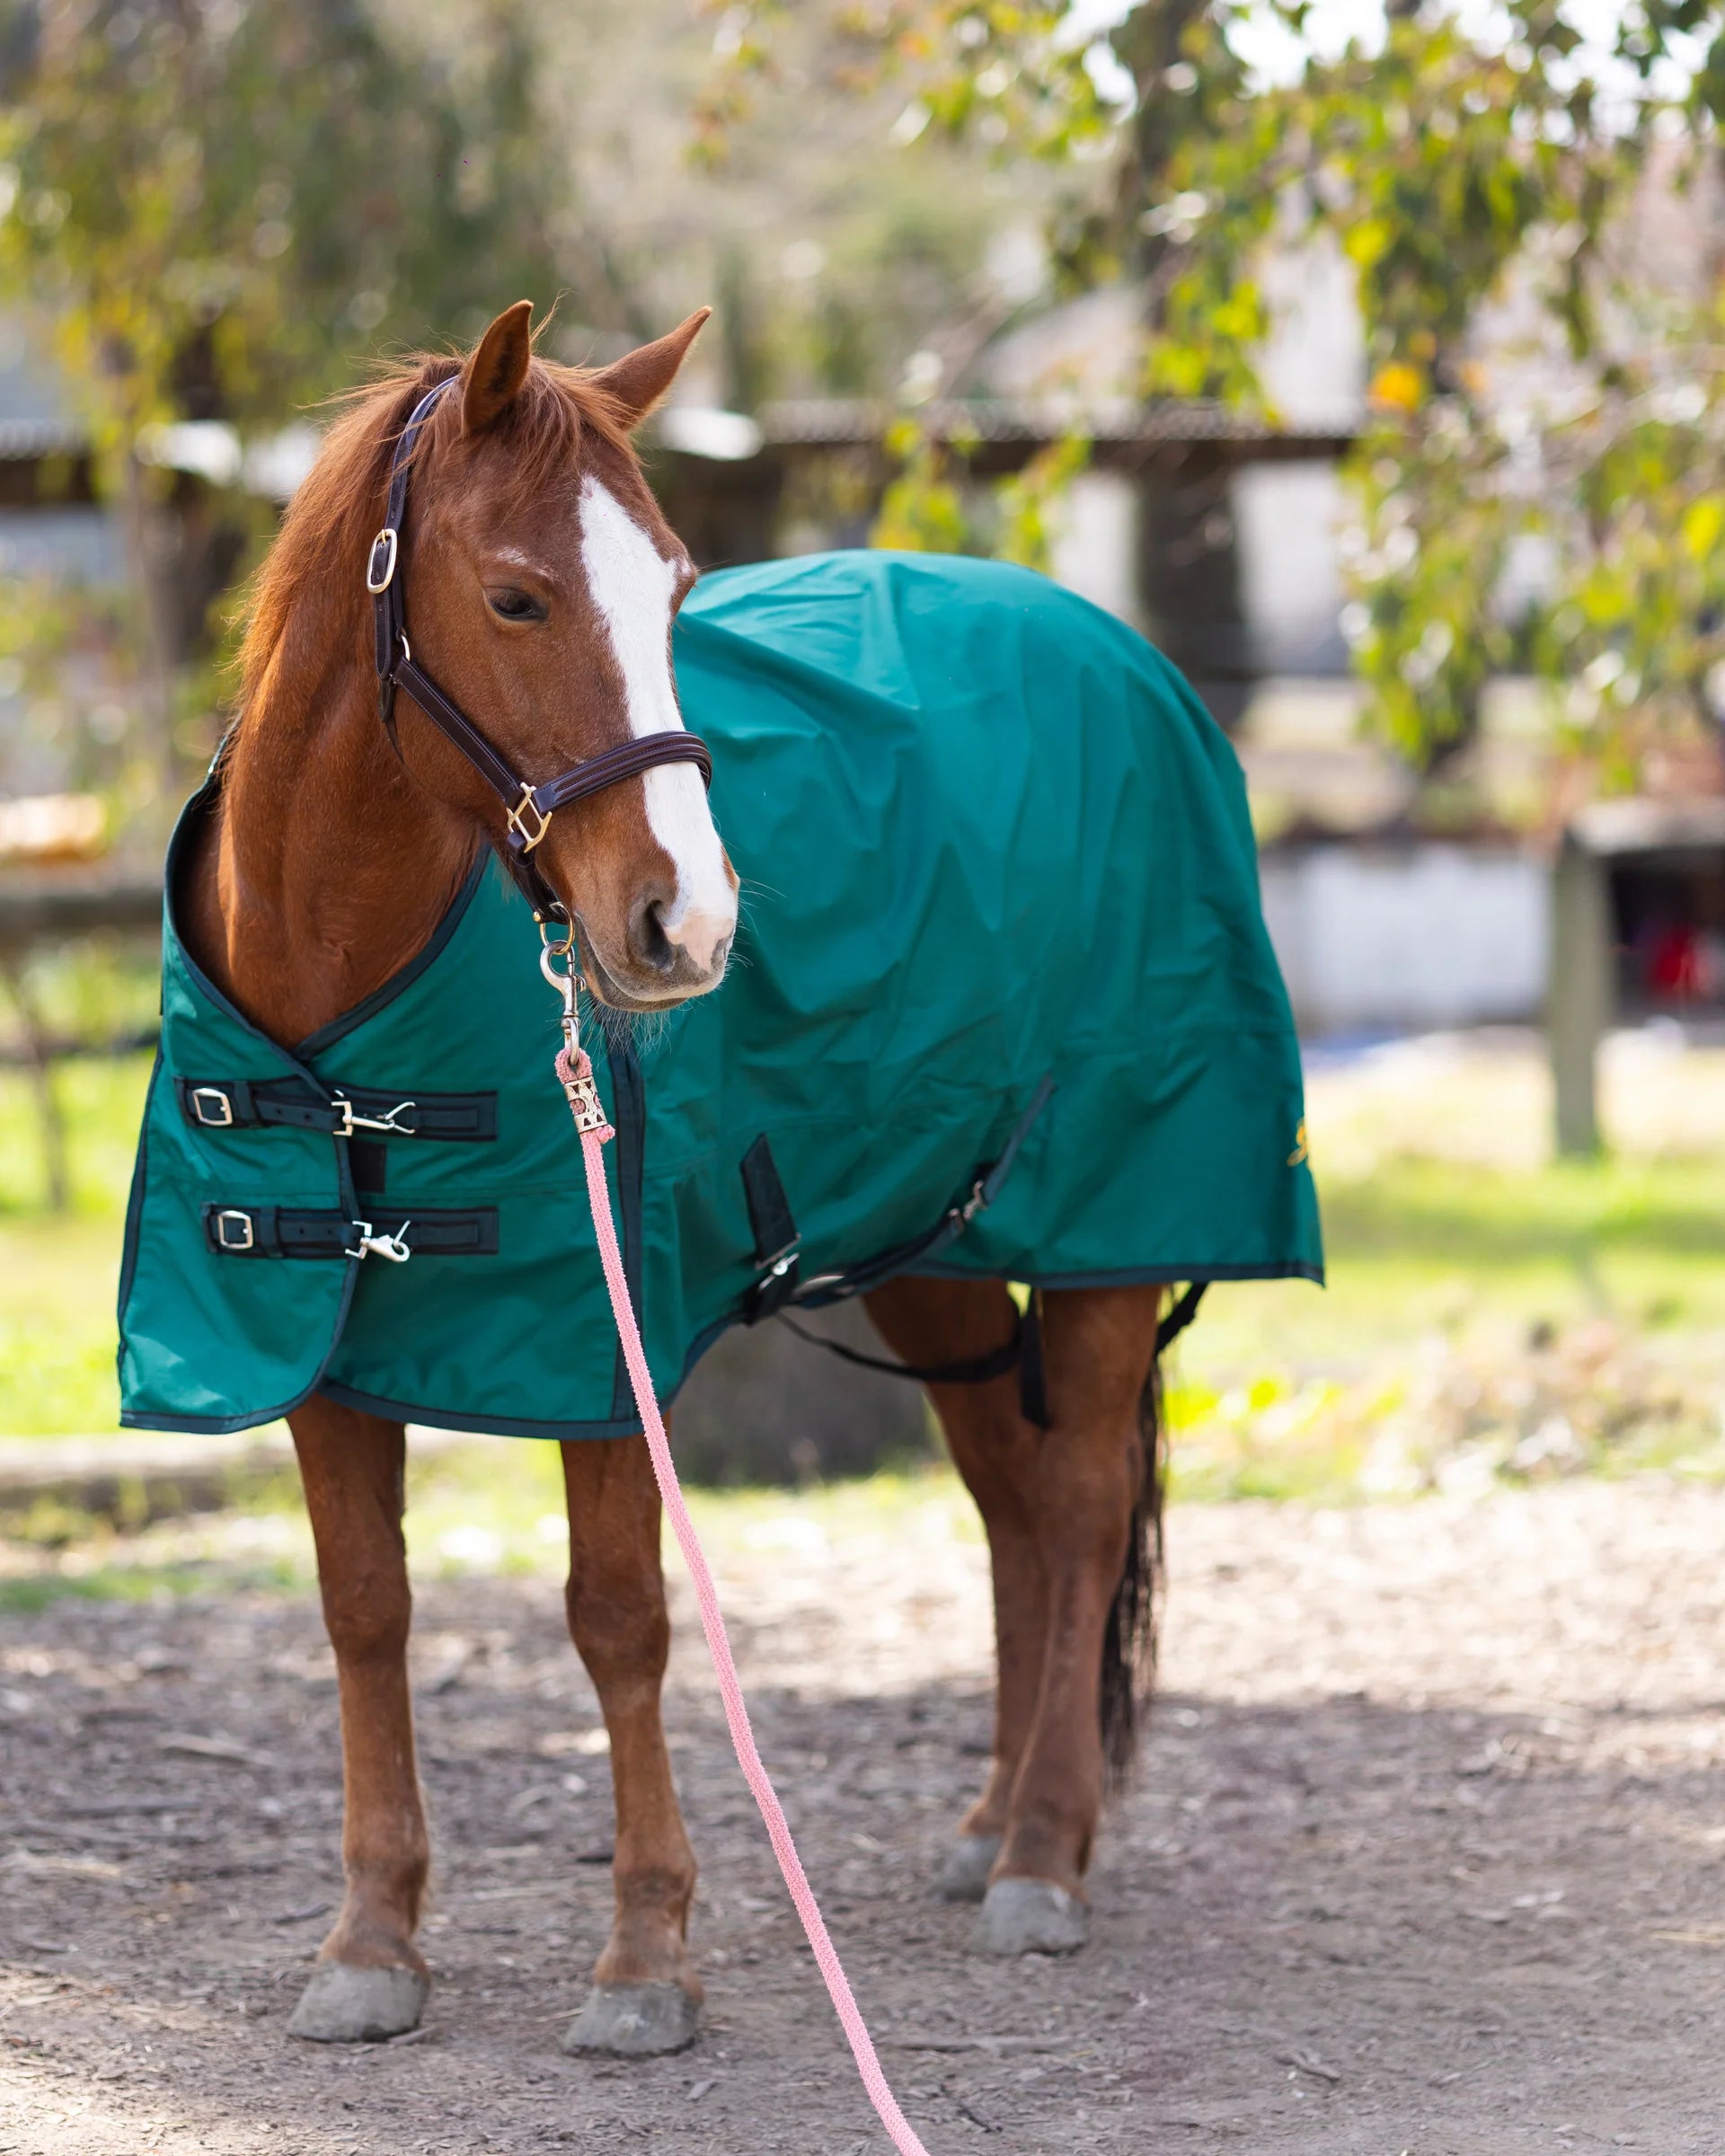
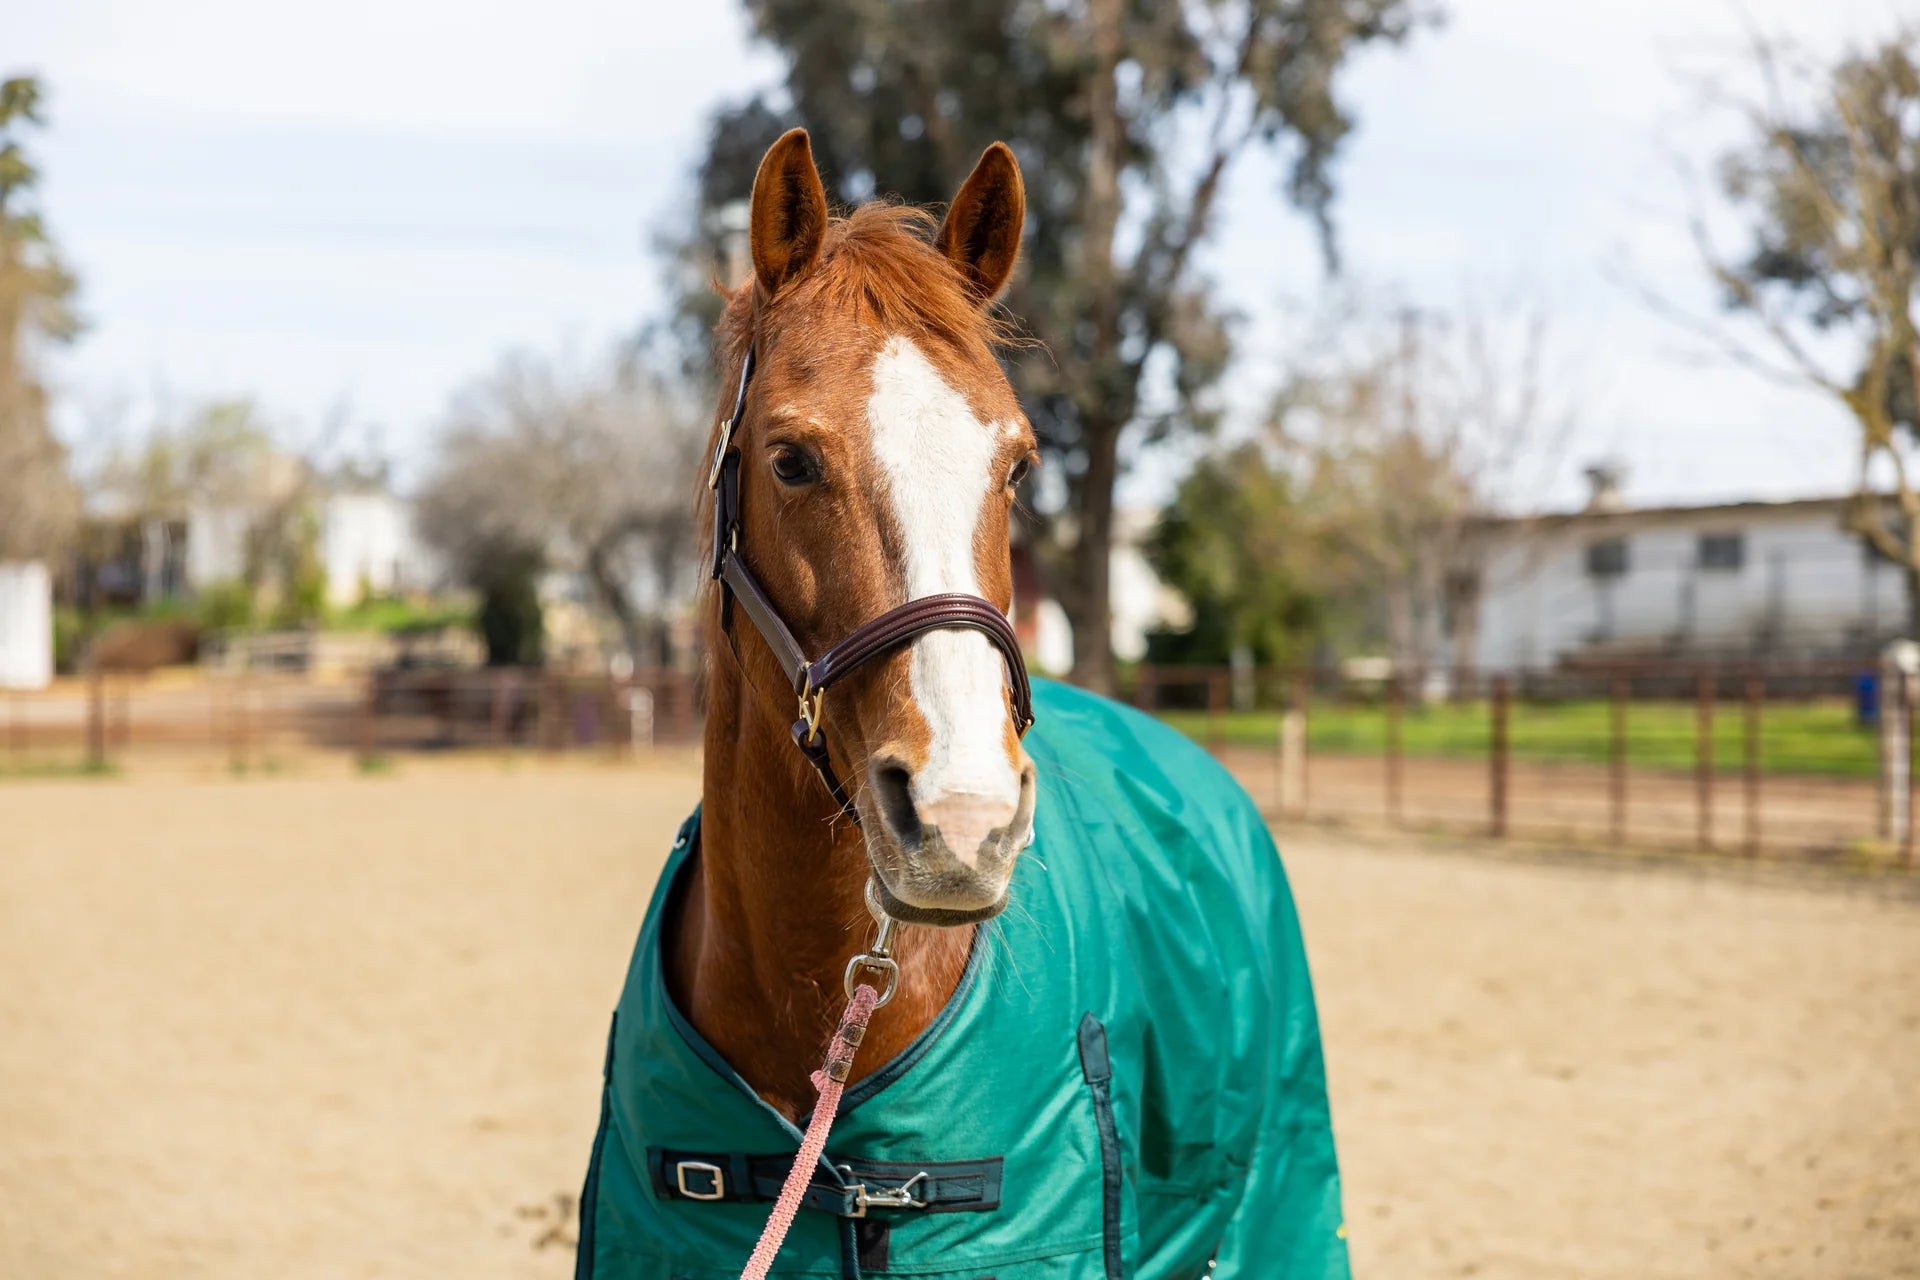
When it comes to protecting your horse’s legs, polo wraps are a classic choice. Riders use them for everything from flatwork and lunging to light schooling, not just for protection but also for the stylish flair they add to a riding outfit.
But wrapping correctly is crucial! When done right, polos provide support and protection. Done wrong, they can actually cause tendon damage. This guide walks you through everything you need to know: when to use polo wraps, how to apply them step-by-step, and mistakes to avoid.
What Are Polo Wraps?
Before learning how to wrap, it helps to understand exactly what polo wraps are and why riders choose them. These classic leg wraps have been barn staples for decades because of their balance of protection, versatility, and style.
Polo wraps are long strips of soft fleece designed to protect a horse’s lower legs from knocks, scrapes, and interference during work.
-
Length and width: Typically 9–11 feet long and 4–4.5 inches wide.
-
Material: Thick, stretchy fleece with a velcro tab for closure.
-
Use: Best for flatwork, groundwork, or low-impact exercise. Not recommended for turnout, shipping, or wet conditions.
Polo Wraps vs. Sport Boots
With so many protective legwear options out there, you might wonder: why polos instead of boots? Both offer benefits, but they’re designed for slightly different purposes.
| Product | Benefits / Features |
|---|---|
| Polo Wraps |
|
| Sport Boots |
|
Bottom line: Polo wraps are great if you want a snug and custom fit; as long as you know how to wrap correctly. Boots are better if you want quick protection with less learning curve.
Before You Begin: Preparation Checklist
Like most things in riding, good preparation sets you up for success. Taking a few minutes before you wrap ensures both safety and a clean, professional result.
Make sure you have the right setup before wrapping:
-
Horse safely tied in cross-ties or with a quick-release knot.
-
Legs clean and completely dry.
-
Wraps rolled correctly, with velcro on the outside.
-
Always wrap legs in pairs (fronts together, hinds together).
-
Position yourself safely: Bend at the knees, never kneel.
Step-by-Step: How to Polo Wrap Horse Legs
Now that you’re set up, it’s time to actually apply the wraps. The key is to keep your pressure even, your direction consistent, and your finish neat. Follow these five steps for safe and supportive wraps every time.
1. Start at the cannon bone
Hold the rolled wrap against the inside of your horse’s cannon bone, just below the knee or hock. Begin wrapping around the leg, moving front to back.
On the left legs, you’ll wrap in a counterclockwise direction, but for the right legs you’ll wrap clockwise.
2. Work your way down
Overlap the wrap by about 50% with each turn. Keep your tension consistent and snug but never tight enough to indent the skin.
3. Cup the fetlock
When you reach the fetlock, angle the wrap under the joint in a supportive “V” shape. This creates a sling that cushions the tendons and prevents dirt from sneaking in.
4. Wrap back up
Continue overlapping as you move back up the leg. Finish in the middle of the cannon bone and secure with Velcro facing the outside.
5. Check your work
Once finished, take a step back and double-check. A proper wrap should look neat and uniform, with no wrinkles or bulges.
-
Even layers, no wrinkles.
-
Consistent tension top to bottom.
-
Secure, but not so tight that it feels restrictive.
Common Mistakes to Avoid with Polo Wraps
Even experienced riders slip up when wrapping and small errors can cause big problems for your horse’s legs. Knowing what not to do is just as important as knowing the correct steps.
-
Wrapping too tightly over tendons.
-
Leaving wrinkles or uneven pressure points.
-
Wrapping in the wrong direction (can stress tendons).
-
Only wrapping one leg instead of both.
-
Leaving wraps on after riding or in turnout.
Caring for Your Polo Wraps
Polo wraps last longer and perform better when you take care of them properly. Keeping them clean and neatly rolled also makes wrapping faster and easier.
-
Wash before first use to reduce lint and fuzz.
-
Close velcro tabs before washing to prevent tangling.
-
Roll wraps tightly after each wash for quicker application.
-
Store in pairs so you’re never digging for a match at the barn.
Ready to Wrap Like a Pro?
Learning how to polo wrap takes a bit of practice, but once you get the hang of it, it becomes second nature.
Polo wraps FAQs
Still have questions about when and how to use polo wraps? These quick answers cover the most common concerns from riders of all levels.
When should I use polos instead of boots?
Polos are best for flatwork, groundwork, and controlled riding environments. Boots are better for turnout, jumping, or muddy conditions.
Can I show in polo wraps?
Not in most rated competitions, but they’re fine for schooling or warm-up.
How long can I leave polos on?
You should only leave polos one during your ride or training session. Always remove them after.
Can polos be used for injuries?
Polos should only be used for injuries under veterinary guidance. Incorrect wrapping can worsen tendon issues.


